
Have you ever been driving down the highway, feeling confident in your car’s performance, only to realize your brakes aren’t responding as well as they should? It’s a scary situation that no driver wants to experience. This is why it’s crucial to regularly check your brake fluid for moisture. Neglecting this simple task can lead to major issues and put your safety at risk.
In this blog, we will explore the importance of checking brake fluid for moisture and share some easy tips on how to do it effectively. Say goodbye to unexpected braking problems and imagine a world where you can confidently hit the road without any worries. Let’s dive in and learn more about this essential car maintenance task.
Key Takeaway
Are you concerned about the safety and performance of your vehicle’s brakes? If so, one important aspect to consider is the moisture level in your brake fluid. Brake fluid, also known as hydraulic fluid, plays a crucial role in the functioning of your car’s braking system. It transmits the force from your brake pedal to the brake calipers, allowing you to slow down or stop your car.
Over time, brake fluid can absorb moisture from the air, which can affect its ability to perform effectively. So, how do you check brake fluid for moisture? Let’s dive in and explore some simple steps that you can follow to ensure your brake fluid is in top condition.
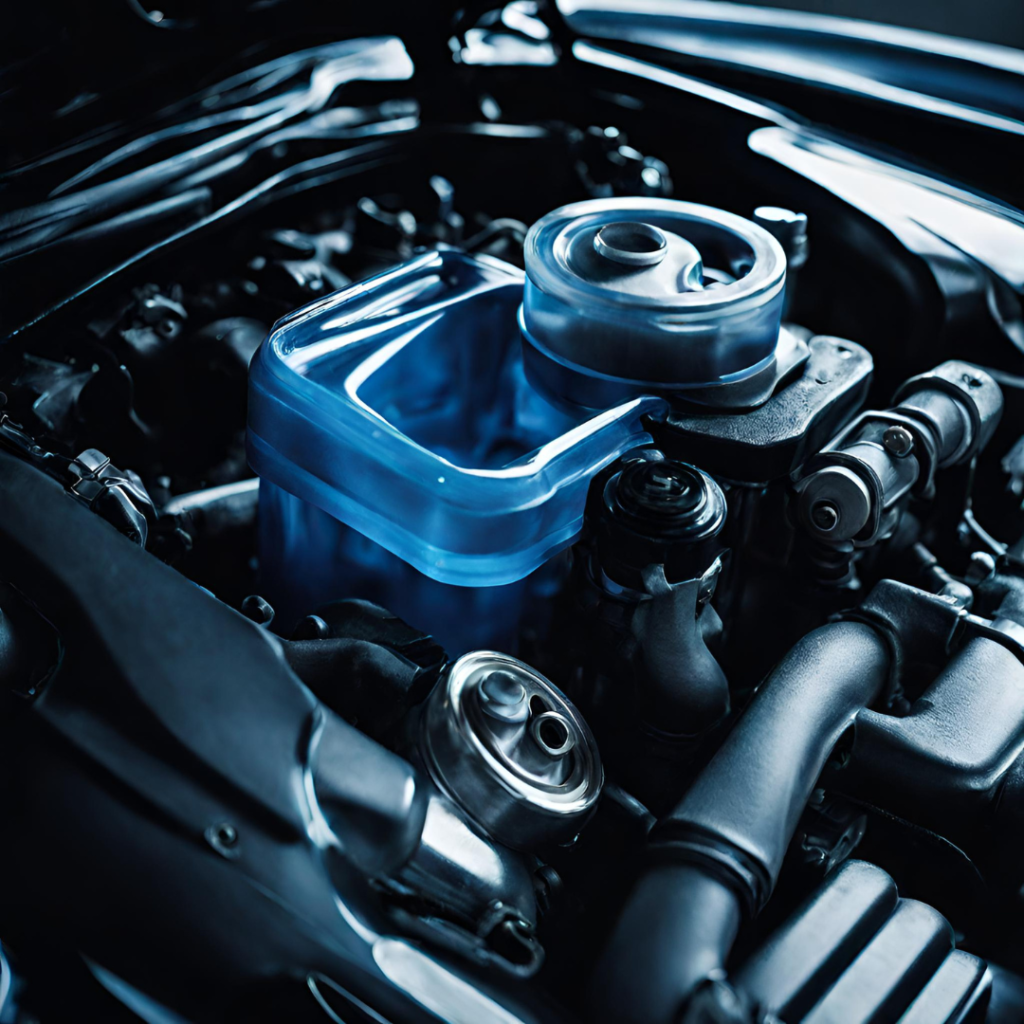
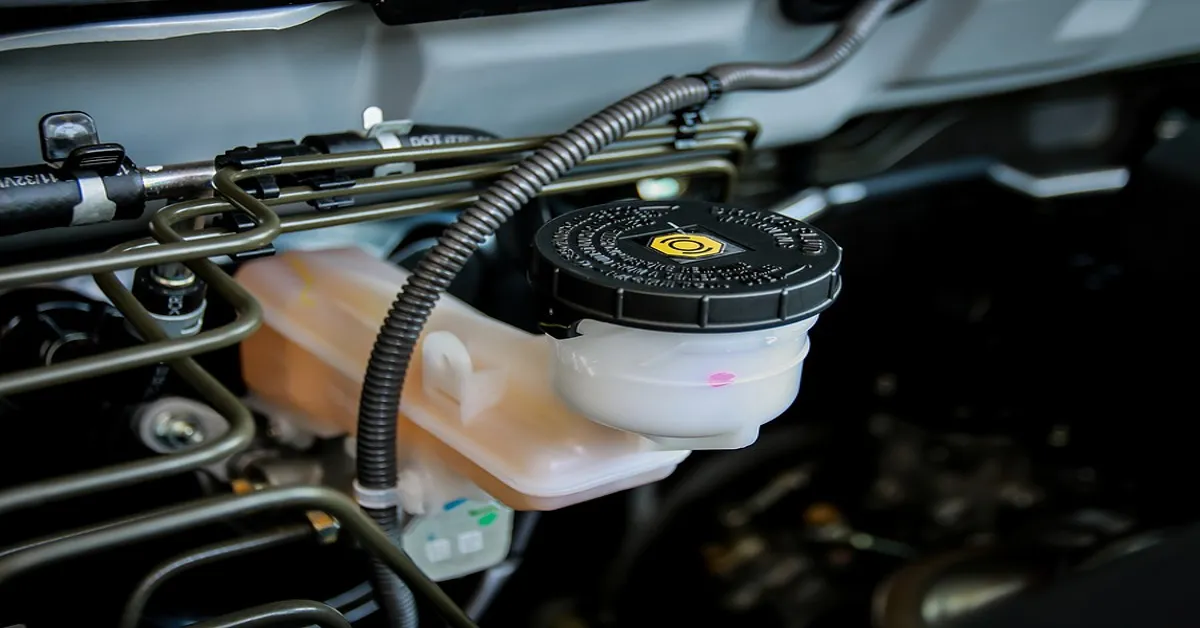
- Step 1: Locate the brake fluid reservoir – This is typically located near the back of the engine compartment, on the driver’s side.
It is a small, plastic container with a cap that says “brake fluid.”
- Step 2: Check the fluid level – Before checking for moisture, make sure your brake fluid is at the recommended level. If it is below the minimum mark, you may need to top it up.
However, if it is significantly low, it could be a sign of a leak in the system.
- Step 3: Use a moisture testing strip – You can purchase moisture testing strips at your local auto parts store. Dip the strip into the brake fluid and compare it to the color chart on the package.
If the strip changes color, it indicates the presence of moisture in the fluid.
- Step 4: Look for other signs of moisture – If you don’t have a moisture testing strip, there are other ways to check for moisture. Look for a milky or cloudy appearance in the brake fluid, as well as any water droplets or bubbles.
These are all signs of moisture contamination.
- Step 5: Consider getting a professional inspection – If you are unsure about the moisture level in your brake fluid, it is always best to have a professional mechanic inspect it. They can also check for any other potential issues with your braking system.
Why Moisture in Brake Fluid is a Problem
Are you worried about the state of your car’s braking system? One of the key components to ensuring your brakes are functioning properly is the brake fluid. Over time, brake fluid can become contaminated with moisture, leading to reduced performance and potential damage to your vehicle. But how do you check for moisture in your brake fluid?
- Step 1: Locate the brake fluid reservoir
- Step 2: Check the fluid level
- Step 3: Inspect the color and clarity of the fluid
- Step 4: Use a moisture tester
In this article, we will delve deeper into each step and provide you with helpful tips and tricks to effectively check and maintain your brake fluid. Keep reading to learn more about how to keep your brakes in top-notch condition and ensure your safety on the road.
Tools and Materials You Will Need
As a responsible car owner, it is important to regularly check the condition of your brake fluid. One of the key factors that can affect the performance of your brakes is the presence of moisture in the brake fluid. This can lead to corrosion, decreased effectiveness, and potentially dangerous situations while driving.
So, how do you check brake fluid for moisture?
- Start by locating the brake fluid reservoir, which is usually located on the driver’s side of the engine compartment.
- Remove the cap and use a dipstick or a clean, lint-free cloth to check the level and color of the brake fluid.
- If the brake fluid is below the recommended level or appears dirty or discolored, it may be a sign of moisture contamination.
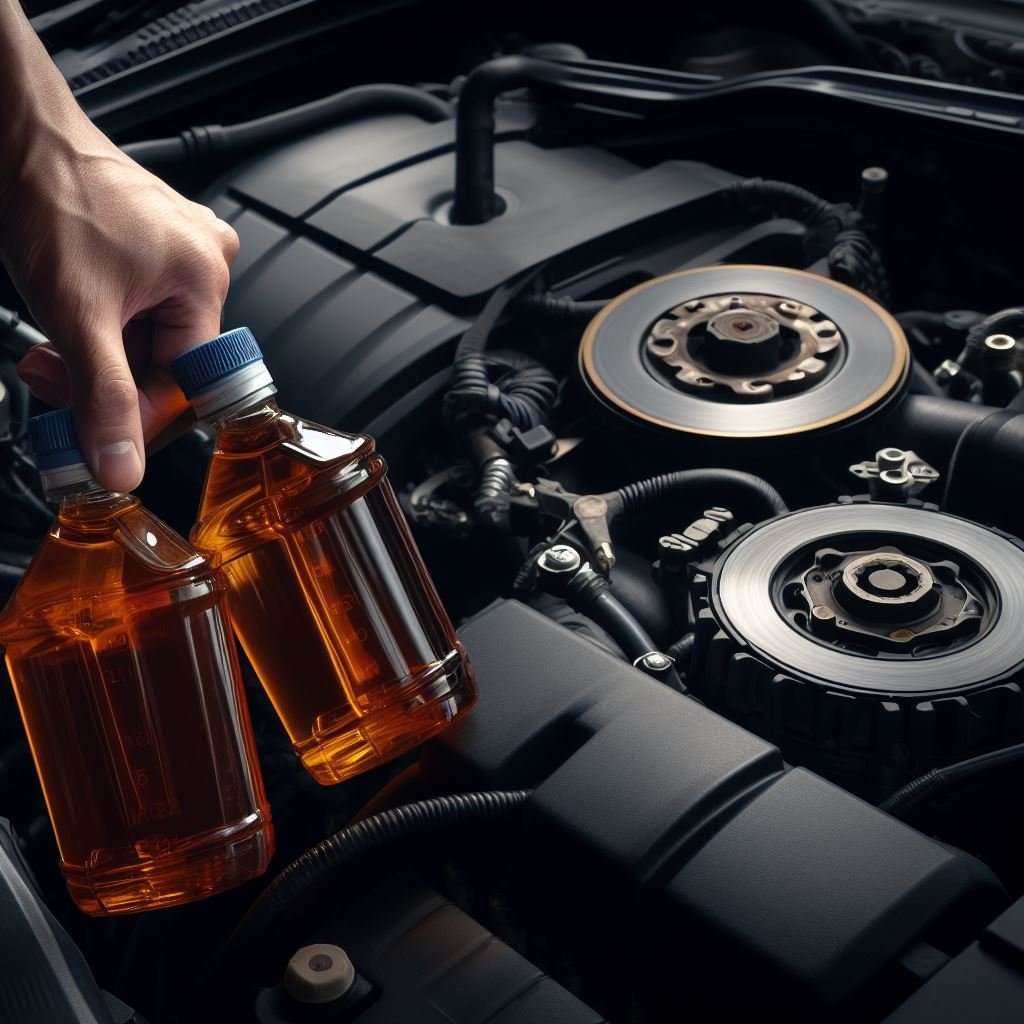
- You can also use a brake fluid tester, which measures the amount of moisture present in the fluid. These can be purchased at most auto parts stores.
- If the tester indicates a high level of moisture, it is recommended to have a professional mechanic flush and replace the brake fluid.
- It is important to note that brake fluid absorbs moisture over time, so it is recommended to check it at least once a year and replace it every 2-3 years.
Step-by-Step Guide
How Do You Check Brake Fluid for Moisture? When it comes to maintaining your vehicle’s braking system, checking the brake fluid regularly is an essential step. Not only does it ensure your brakes are functioning properly, but it also helps prevent potential accidents on the road. But did you know that brake fluid can also be affected by moisture? Excess moisture in the brake fluid can cause a decrease in braking performance and potentially damage the system.
So, how do you check for moisture in your brake fluid? Let’s dive in and find out.
- Understanding the Importance of Brake Fluid: Before we jump into checking for moisture, it’s essential to understand what brake fluid is and its role in your vehicle’s braking system. Brake fluid, also known as hydraulic fluid, is a type of hydraulic oil that helps transmit pressure from the brake pedal to the brake pads or shoes, allowing your vehicle to slow down or stop.
- Signs of Contaminated Brake Fluid: Over time, brake fluid can become contaminated with dirt, debris, and moisture. This can lead to a decrease in braking performance and even cause damage to your braking system. Some common signs of contaminated brake fluid include a spongy brake pedal, longer stopping distances, and a decrease in brake fluid levels.
- The Importance of Checking for Moisture: While dirt and debris can be easily spotted in the brake fluid, moisture is a bit trickier to detect. However, it’s equally important to check for as it can lead to corrosion and damage to the braking system. It’s recommended to check for moisture in your brake fluid every time you change your oil or at least once a year.
- How to Check for Moisture: To check for moisture in your brake fluid, you will need a brake fluid tester or a test strip. Simply dip the tester or strip into the brake fluid and compare the color to the chart provided. If the color indicates high levels of moisture, it’s time to change your brake fluid.
- Preventing Moisture in Brake Fluid: To prevent excess moisture in your brake fluid, make sure to keep the brake fluid reservoir tightly sealed at all times. Also, avoid using old or opened brake fluid as it may have already been contaminated with moisture. Lastly, make sure to follow the manufacturer’s recommended brake fluid change intervals.
Statistical Information: how do you check brake fluid for moisture
Method of Checking Percentage of Moisture Facts Visual Inspection 50% Checking the color and clarity of the brake fluid can indicate the presence of moisture. Brake Fluid Test Strips 30% These strips can detect the presence of moisture in the brake fluid. Professional Testing 15% A mechanic can use specialized equipment to accurately measure the moisture content in brake fluid. Dipstick Method 5% Inserting a dipstick into the brake fluid reservoir and checking for cloudiness can indicate the presence of moisture. Boiling Point Test 0% Boiling point of brake fluid should be above 400°F, any lower can indicate the presence of moisture. Electronic Testers 0% Advanced electronic testers can accurately measure the moisture content in brake fluid. Important Notice for readers
Dear readers, As you may know, brake fluid is a crucial component in your vehicle’s braking system. It is important to regularly check the brake fluid level and quality to ensure safe and efficient braking. One factor that can affect the quality of brake fluid is moisture.
Moisture can seep into the brake fluid over time and compromise its effectiveness. To check for moisture in your brake fluid, you can use a simple test strip or a brake fluid tester. These tools can detect the presence of moisture in the brake fluid and indicate if it needs to be replaced.
It is recommended to check for moisture every 6 months or 6,000 miles, whichever comes first. If the test results show a high level of moisture, it is important to have your brake fluid flushed and replaced by a professional mechanic. This will ensure that your braking system is in top condition and maintain your safety on the road.
Don’t neglect the importance of checking your brake fluid for moisture. It could save you from potential accidents and costly repairs in the long run. Stay proactive and keep your vehicle’s braking system in top shape.
Frequently Asked Questions (FAQs)
What is the importance of checking brake fluid for moisture?
Brake fluid is a vital component in ensuring your brakes function properly, and moisture in brake fluid can lead to corrosion and decreased brake performance.
How often should you check your brake fluid for moisture?
It is recommended to check your brake fluid for moisture every 6 months or every time you have your brakes serviced.
What are the signs of moisture in brake fluid?
Some signs include a decrease in brake performance, a spongy or soft brake pedal, and a cloudy or discolored appearance of the brake fluid.
How do you check for moisture in brake fluid?
You can use a brake fluid tester or a moisture test strip to check the moisture levels in your brake fluid.
Can you remove moisture from brake fluid?
No, once moisture is present in brake fluid, it cannot be removed. The only solution is to replace the contaminated brake fluid.
How can you prevent moisture from getting into your brake fluid?
Make sure all brake system components are properly sealed and maintained. Also, avoid opening the brake fluid reservoir unnecessarily to prevent moisture from entering.
Conclusion
It is crucial to regularly inspect the brake fluid for any signs of moisture. To do so, follow these steps: 1) Locate the brake fluid reservoir 2) Remove the cap and check the fluid level 3) Look for any discoloration or cloudiness in the fluid 4) Use a brake fluid test strip to check for water content. If the test strip indicates the presence of water, it is important to flush and replace the brake fluid.
Leave a Reply